#
Example App: Vue
We have an improved sample Vue app that you can use to quickly start your projects. This tutorial is still relevant, but slightly outdated. We suggest starting new projects with inkey-start-vue.
We've created an example app in VueJS 3 to help you get up and running quickly with Inkey. Here's the full repo.
If you'd like to know how we put this together, below is the step-by-step process. You should be able to replicate these concepts with any front-end framework.
#
1. Setup & dependencies
We use Vite for easy Vue3 development:
npm create vite@latestFollow the prompt, using Vue and Typescript:
✔ Project name: inkey-demo
✔ Select a framework: › vue
✔ Select a variant: › vue-ts
Check out your project:
cd inkey-demoIt should look something like this:
├── README.md
├── index.html
├── package.json
├── public
│   └── vite.svg
├── src
│   ├── App.vue
│   ├── assets
│   │   └── vue.svg
│   ├── components
│   │   └── HelloWorld.vue
│   ├── main.ts
│   ├── style.css
│   └── vite-env.d.ts
├── tsconfig.json
├── tsconfig.node.json
└── vite.config.ts
Next, install all the Vue & Vite dependencies:
npm iWe'll need just one more dependency for this project, Algonaut.js, a front-end library for Algorand:
npm i --save @thencc/algonautjsWhy is Inkey itself not a dependency?
The Inkey wallet is a static site on a separate server, and is called up in your app in an iframe. This allows us to keep secure account data completely separate from the dApps that need to interface with the blockchain. It is like a browser extension (only even more secure).
Algonaut.js is a library that has implemented Inkey according to the open-source PostMessage API, which facilitates communication between the embedding dApp and the iframe wallet. You can implement Inkey yourself by referencing the PostMessage API, but we don't recommend it, as it is a rather tedious process.
If you want to change something about the JavaScript implementation, we recommend you instead suggest a change to this source code via pull request.
#
2. Configure Algonaut.js
Now, you'll need an Algorand node to use Algonaut.js with. The easiest way to get one is by signing up for a PureStake API key. Once you've done that, save the key, which should look something like this:
HsSj3C4w8k5LXOsdJPsvN7Ee8auHi6FF2Yupt2LnWe'll be working in the
src/components/HelloWorld.vuefile to keep things simple. In practice however, you'd likely put this Algonaut.js config somewhere likesrc/algonaut.tsfor use across the entire application.
Open HelloWorld.vue, and delete everything. Start with a basic Vue component (I've saved this source as a snippet in Visual Studio Code):
<template>

</template>
<script lang="ts">
import { defineComponent } from 'vue'

export default defineComponent({
  setup() {

  },
})
</script>
<style lang="scss" scoped>

</style>
In the <script> section of the component, add the Algonaut configuration, replacing PURESTAKE_API_KEY with the key you just received from PureStake:
import { defineComponent } from 'vue'
import Algonaut from '@thencc/algonautjs';

const algonaut = new Algonaut({
 BASE_SERVER: 'https://testnet-algorand.api.purestake.io/ps2',
 INDEX_SERVER: 'https://testnet-algorand.api.purestake.io/idx2',
 LEDGER: 'TestNet',
 PORT: '',
 SIGNING_MODE: 'inkey',
 API_TOKEN: { 'X-API-Key': PURESTAKE_API_KEY },
});
To test this, add the following code to the setup() function:
algonaut.checkStatus().then(status => console.log('Algorand status', status));Start the server:
npm run devAnd you should see the following (note the console output):
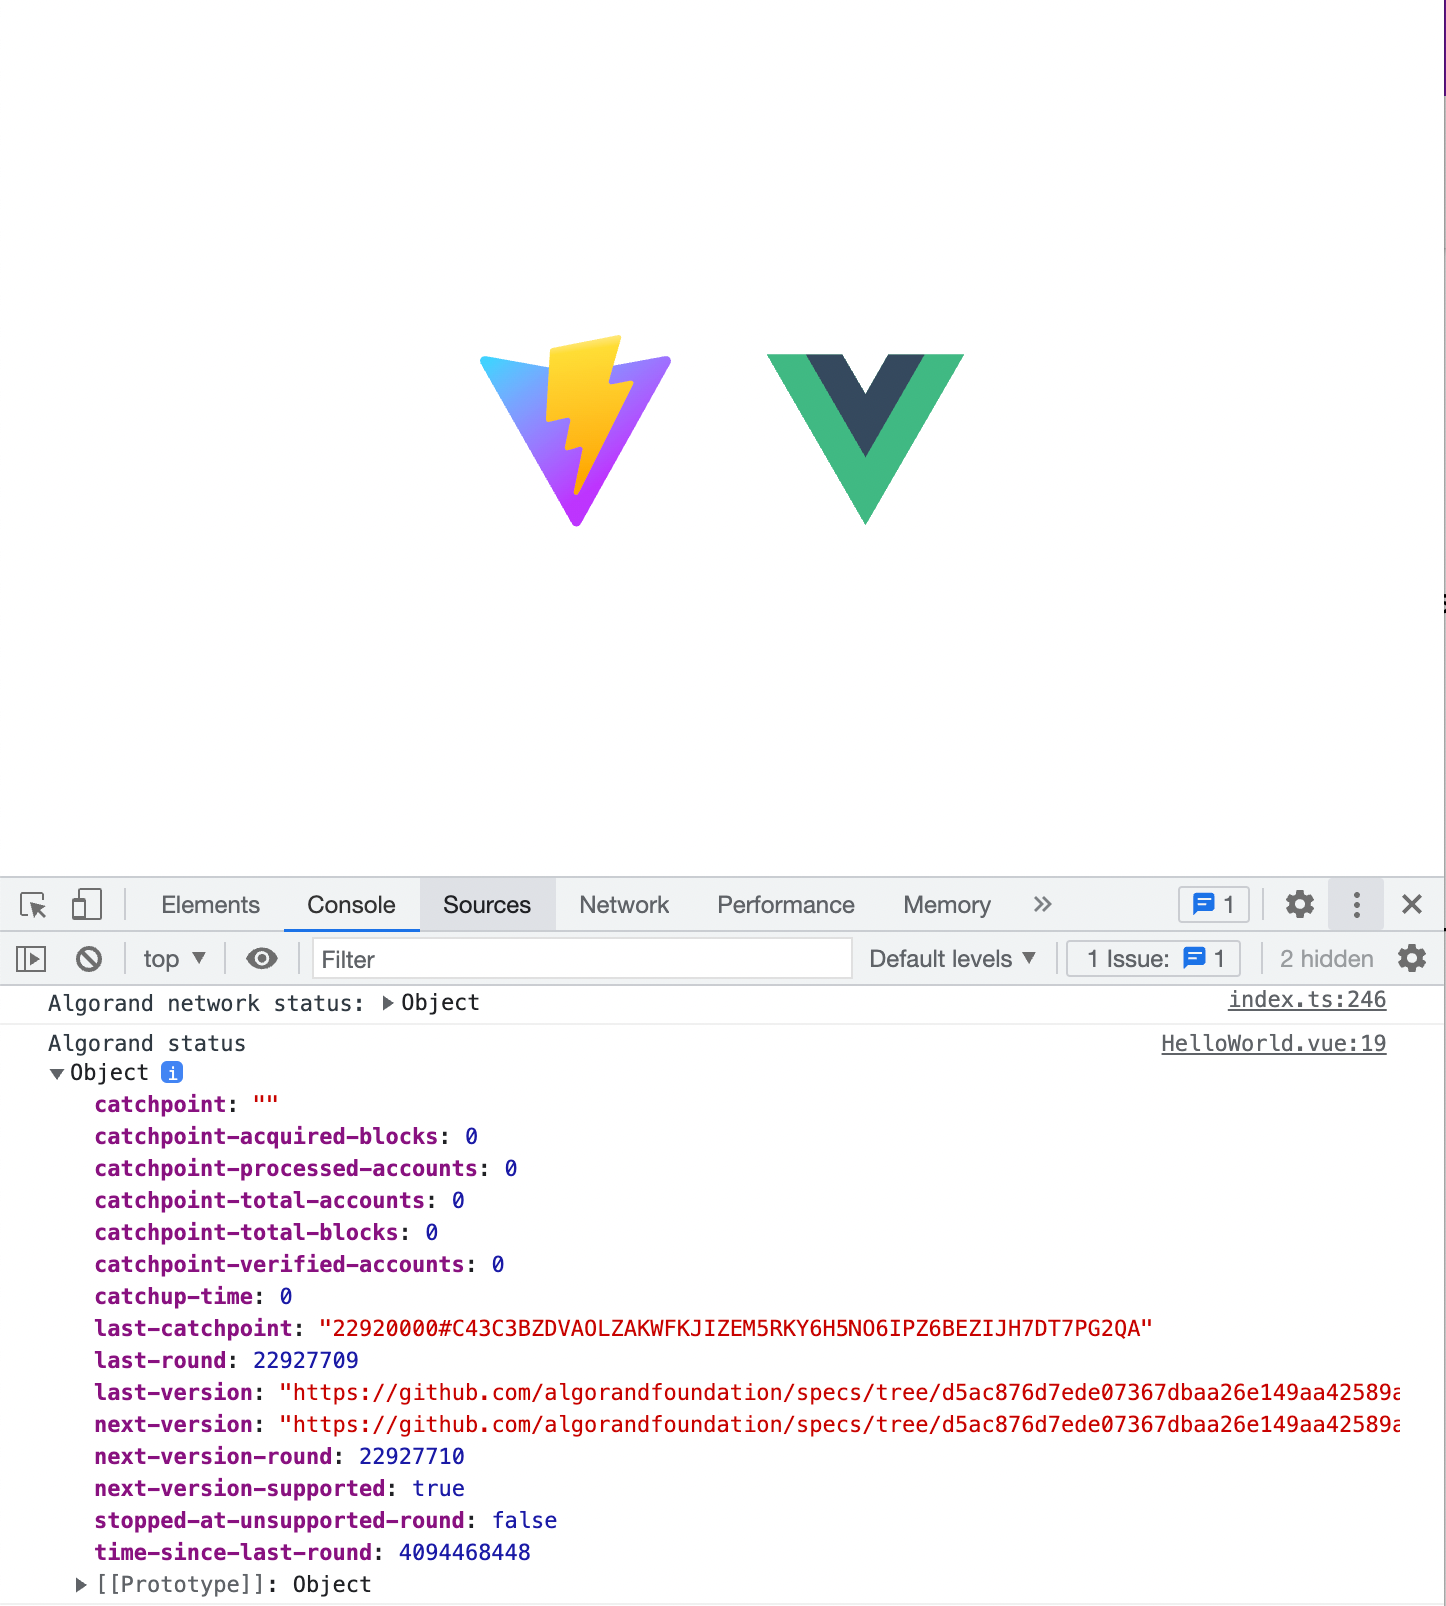
If you instead see a 403 error, you have configured Algonaut.js incorrectly.
#
3. Authenticate with Inkey
Let's add a user object to defineComponent:
export default defineComponent({
  // ... setup() ...
  data() {
    return {
      user: null as { address: string } | null
    }
  }
})
In practice, you'd probably have this in a separate "state" file as well, to use across the app. But that's beyond the scope of this tutorial.
Now, let's see how easy it is to authenticate users, by adding a method to defineComponent:
export default defineComponent({
  // ... setup() and data() ...
  methods: {
    async connect() {
      this.user = await algonaut.inkeyConnect('Welcome to my dApp');
    }
  }
})
Lastly, add a button to call this function in the <template> section of the component, and display the authenticated user's address:
<button @click="connect" v-if="!user">Connect</button>
<p v-if="user"></p>
When you load up the page again (it should be live-updating if you have npm run dev still running), you should see:

Clicking the button opens Inkey, prompting you to create an account or login:
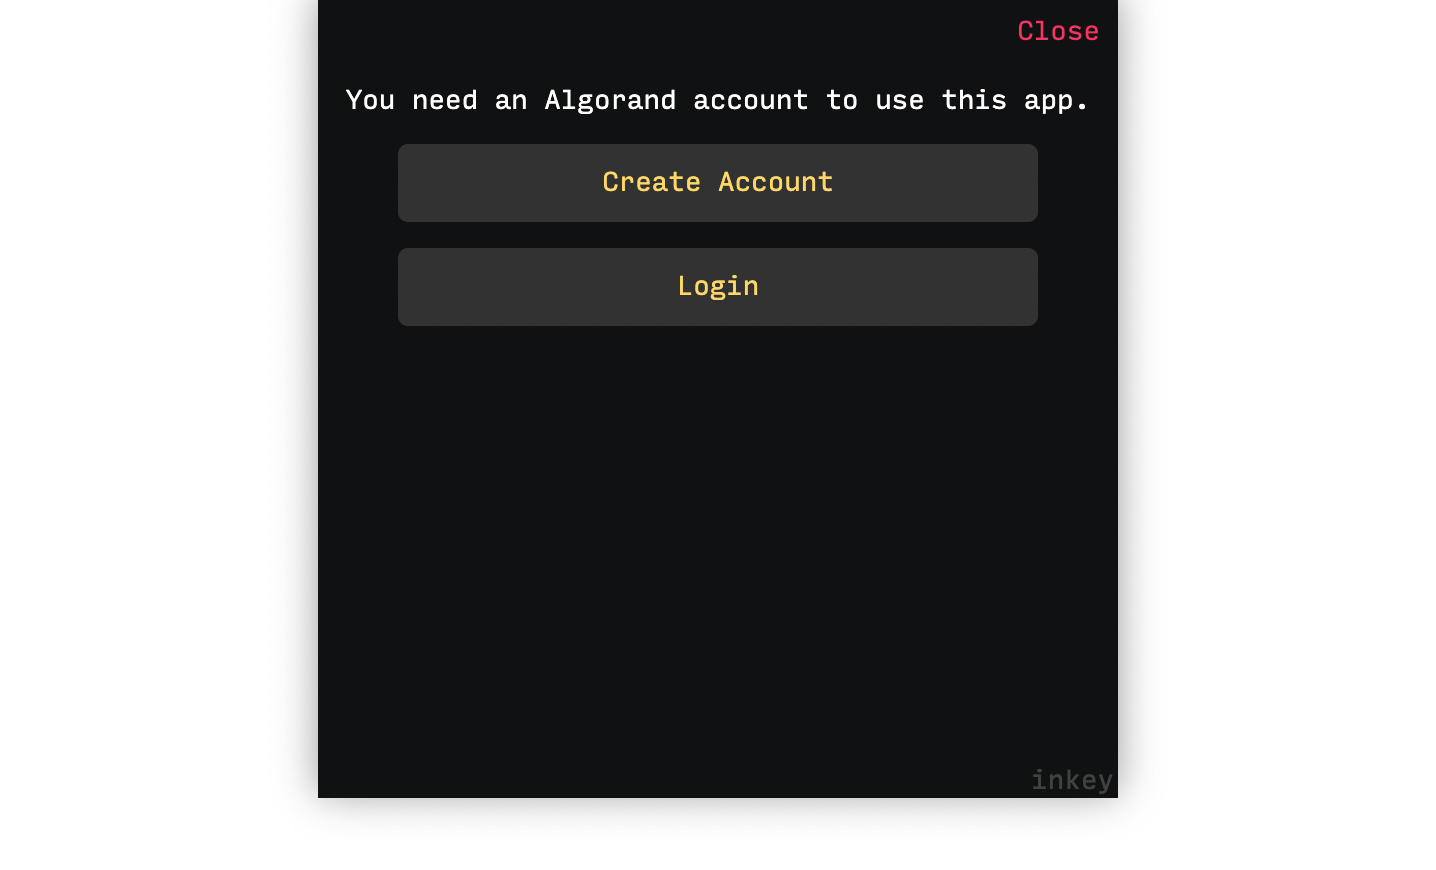
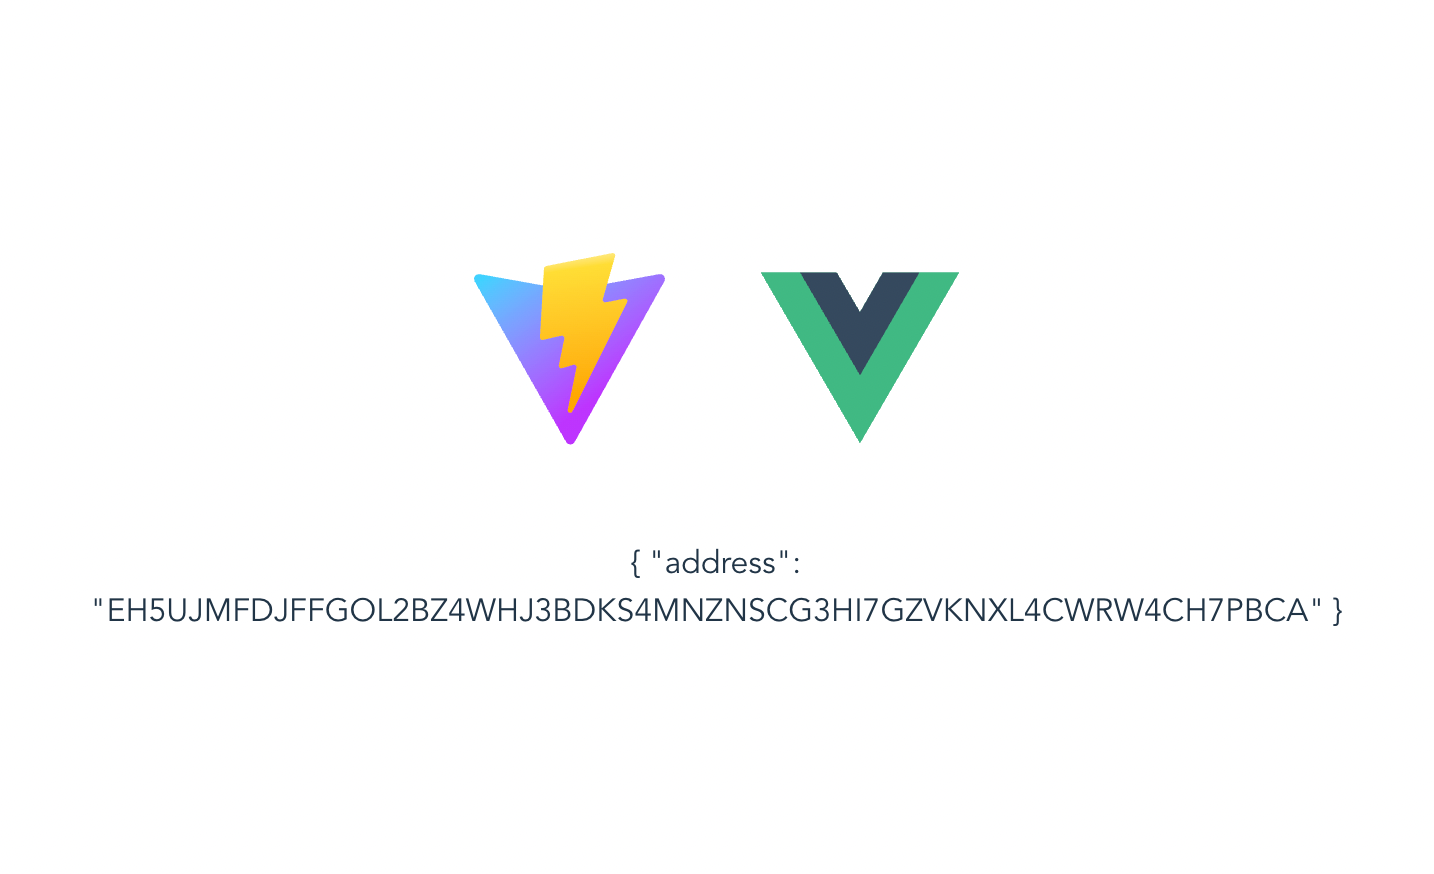
Following those steps, you'll have connected! And the dApp now has your account's wallet address:
#
4. Run transactions
Now we can run transactions!
You'll probably need to consult the Algonaut.js API docs for a full list of transactions you can run, but here's a short list to give you an idea:
algonaut.sendAlgo()
algonaut.sendAsset()
algonaut.optInApp()
algonaut.callApp()
algonaut.createApp()
algonaut.optInAsset()
algonaut.createAsset()
algonaut.getAccountInfo()
algonaut.getAppInfo()
algonaut.getAssetInfo()
First, though, you'll need some Algo. Get some at the dispenser, putting in the address returned when you log in to Inkey.
Then, let's add another method to methods in defineComponent. Our dApp will allow users to create assets.
methods: {
  async connect() {
    this.user = await algonaut.inkeyConnect('Welcome to my dApp');
  },
  async createAsset() {
    const response = await algonaut.createAsset({
      assetName: 'InkeyDemo',
      symbol: 'INKEY',
      decimals: 2,
      amount: 5,
      metaBlock: ''
    });
    console.log(response);
  }
}
In the <template> section, you'll need another button:
<p v-if="user"><button @click="createAsset">Create Asset</button></p>You'll notice when you login and click on the Create Asset button, Inkey will pop up and ask you if you approve the transaction. This is the "signing" process.
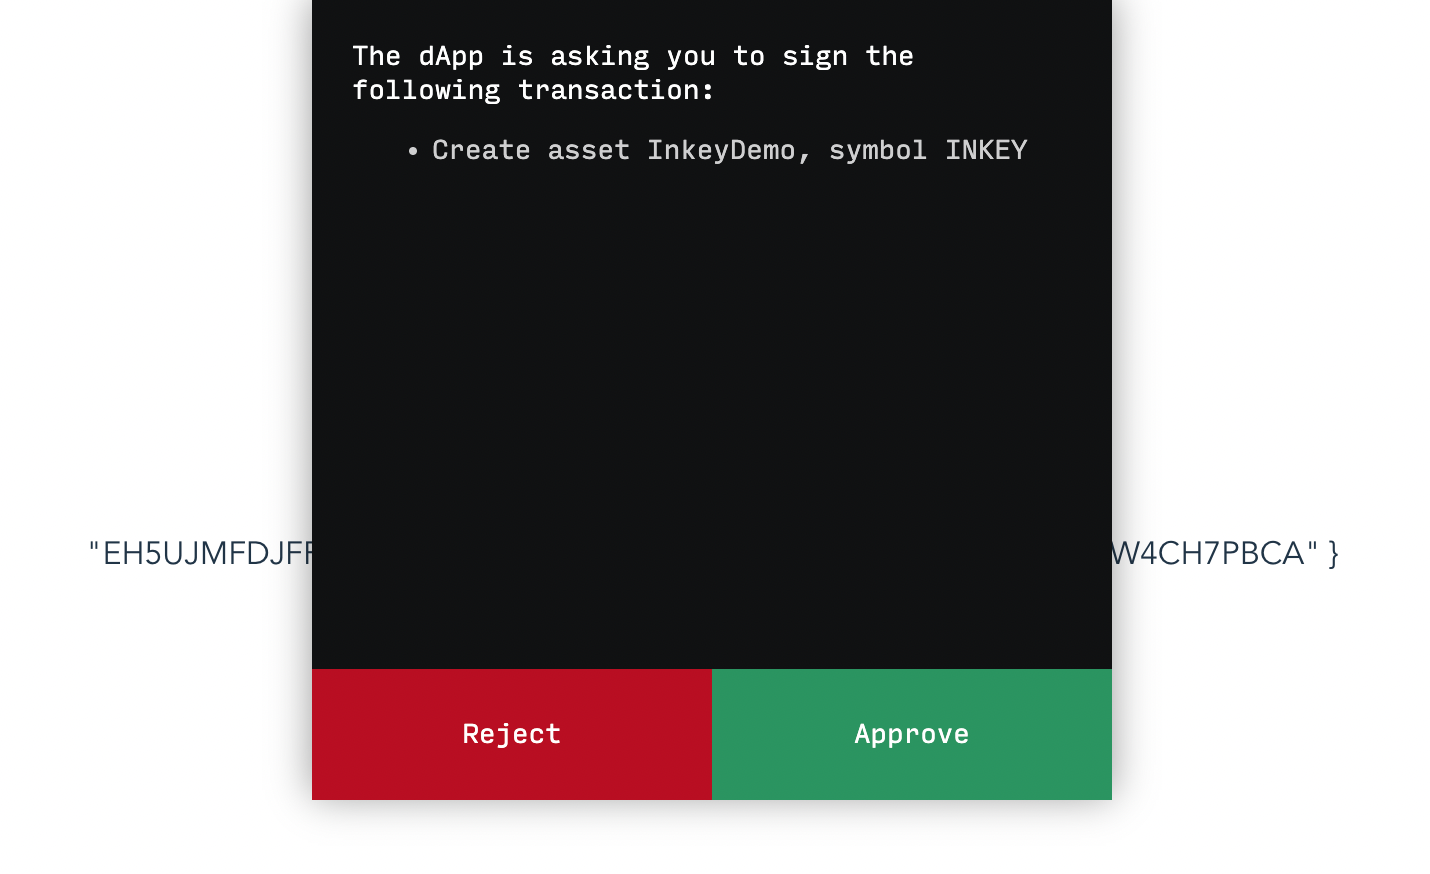
Click approve. It will take several sections for the transaction to be confirmed, but once it is, you will see in the logs:
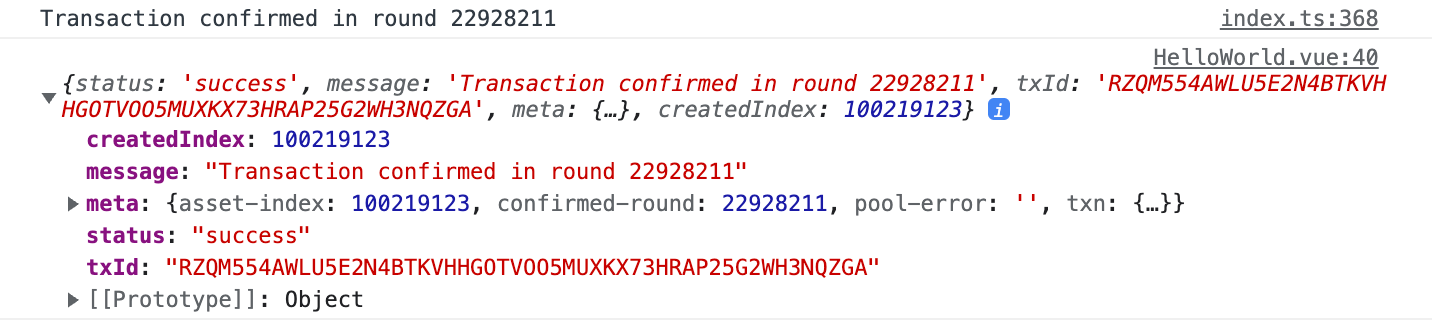
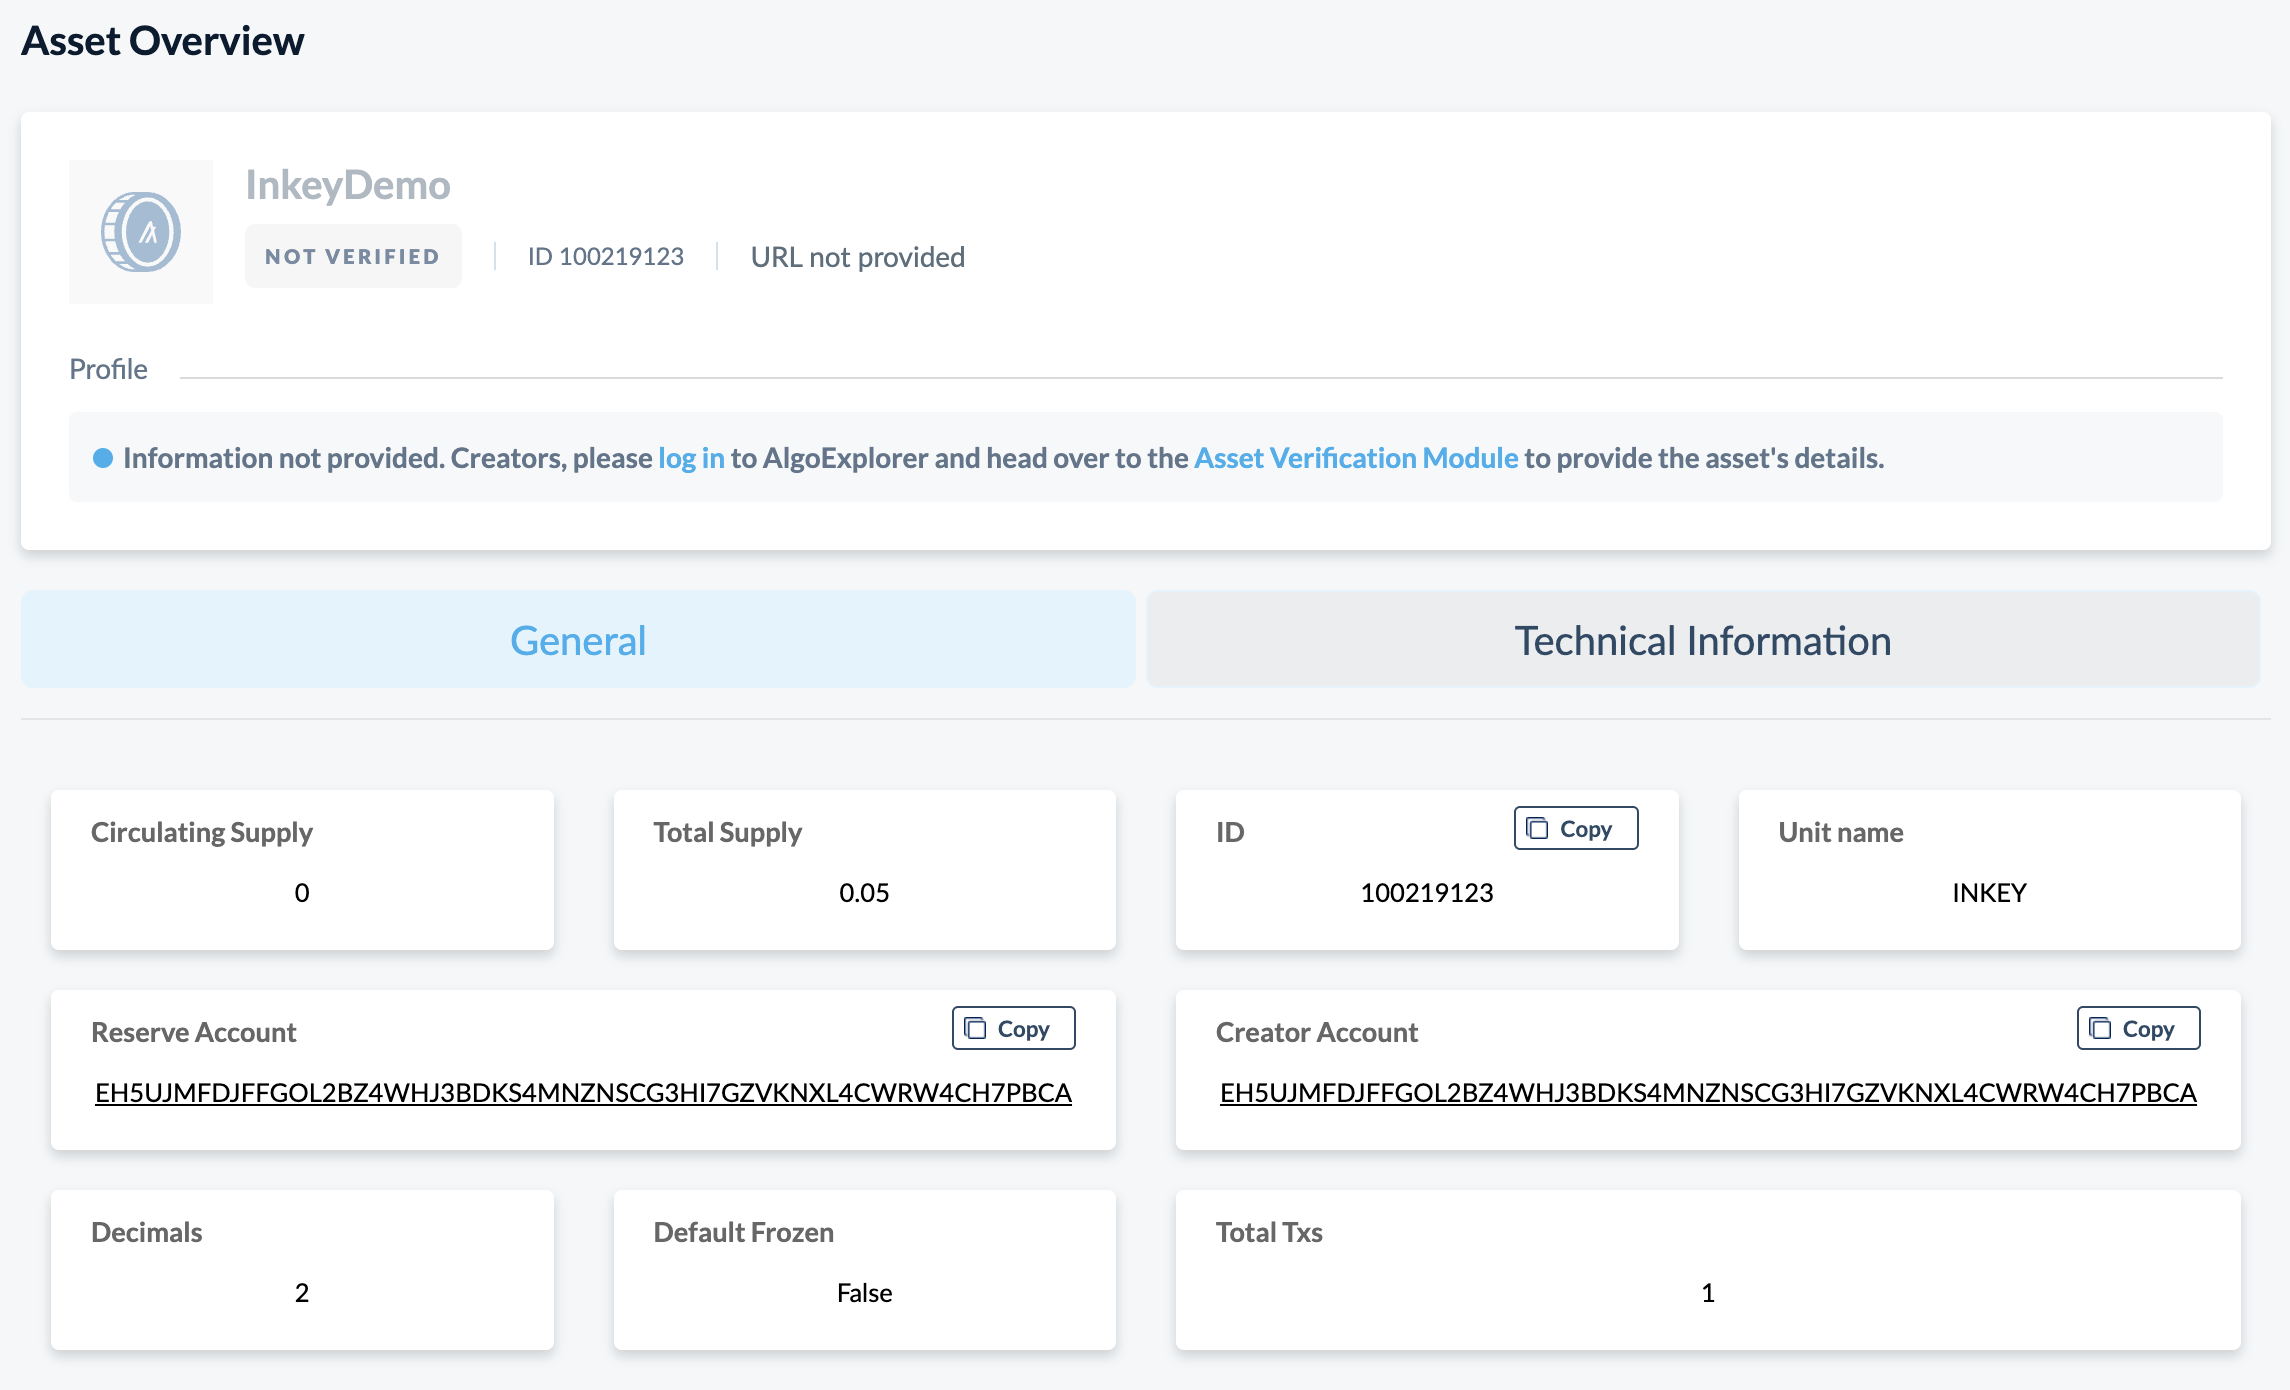
If you take that asset index (100219123 in the above screenshot) and check a block explorer, you will find it's been created:
#
5. What's next?
That's all we're going to cover in this tutorial. You should have all the tools you need to make dApps on the Algorand blockchain, with a dead-simple user auth system built in! Now the sky's the limit in terms of what you can do with this. We purposefully built our tools to be as lightweight as possible, so you can easily integrate them into whatever systems you're already working with. The concepts explored in this tutorial should translate effortlessly to React and Angular, for example.
That said — if you reach a limit during dApp development with Algonaut.js and Inkey, please take a moment to file an issue with your feature request! We are always looking for ways to improve this ecosystem.